Maintaining Your RV Between Road Trips
June 18, 2024 | Lifestyle
There are very few experiences as filled to the brim with fun and adventure for all ages than a road trip in an RV. With the ability to be more in-tune with nature and save costs away from hotels and other lodging, there are very good reasons why people consider RV ownership to be a good investment. However, to take the best care of your vehicle, there are several things you should consider doing both before you hit the road and after your return.
Whether you plan to do a short weekend getaway or a full-fledged cross-country road trip, knowing how to perform proper RV maintenance and cleaning can help save you a great deal of stress later down the road. In this blog, our team at Metro Storage will provide you with a detailed RV maintenance checklist both before and after your upcoming road trip.
How to Maintain an RV Before a Road Trip
No matter what time you bring out your RV for the season, there are several RV maintenance, preparation, and cleaning tips you should consider as you get ready to set out on your next adventure. Wondering how to deep clean an RV? Allow us to share with you a checklist of items to check and clean throughout your RV’s interior and exterior before your road trip.
1. Address Fluid Levels
One of the first things you should check in your pre-vacation adventure is your engine. A critical part of engine maintenance is checking and adjusting the fluid levels. To help you get started, here are some of the RV fluids and fluid levels you’ll need to check:
- Engine oil
- Radiator coolant
- Windshield wash fluid
- Brake fluid
- Power steering fluid
- Clutch fluid
To address or adjust your fluid levels, you’ll need specialized equipment such as AC rechargers and gauge kits.
2. Test Your Engine Battery
Once your fluid levels are to standard, it’s time to test the engine battery. This will make sure that you don’t get stranded on your trip due to an uncharged battery. If you’re checking the voltage of your RV’s engine battery, it should measure at 12.7 volts or more. Just in case you run into problems, make sure you have a pair of jumper cables readily available for your trip.
3. Check Tires
After engine maintenance, it’s time to look at your RV’s exterior. First, you’ll want to check on your tires. Start by inspecting for any cracks, bulges, or other signs of damage on all your tires. This does include your spares. Second, check the air pressure of your tires. If the pressure is low, fill them to their proper pressure levels. This is also a good opportunity to test your brakes and suspension system to ensure they are in working order as well.
4. Watch the Roof
Being the most vulnerable part of your RV, it’s important to pay extra attention to the roof of your RV. To do so, inspect your RV’s roof for any cracks, holes, or other damage. Seal up any leaks or openings as soon as you spot them. A sturdy and intact roof is a critical part of not only RV maintenance but also ensuring your road trip is as pleasant as possible.
5. Inspect the Lights
Perform a quick check of all your lights both inside your RV and along the exterior. The main set of lights is your headlights and tail lights. If any lights are not working properly, get them replaced as soon as you can.
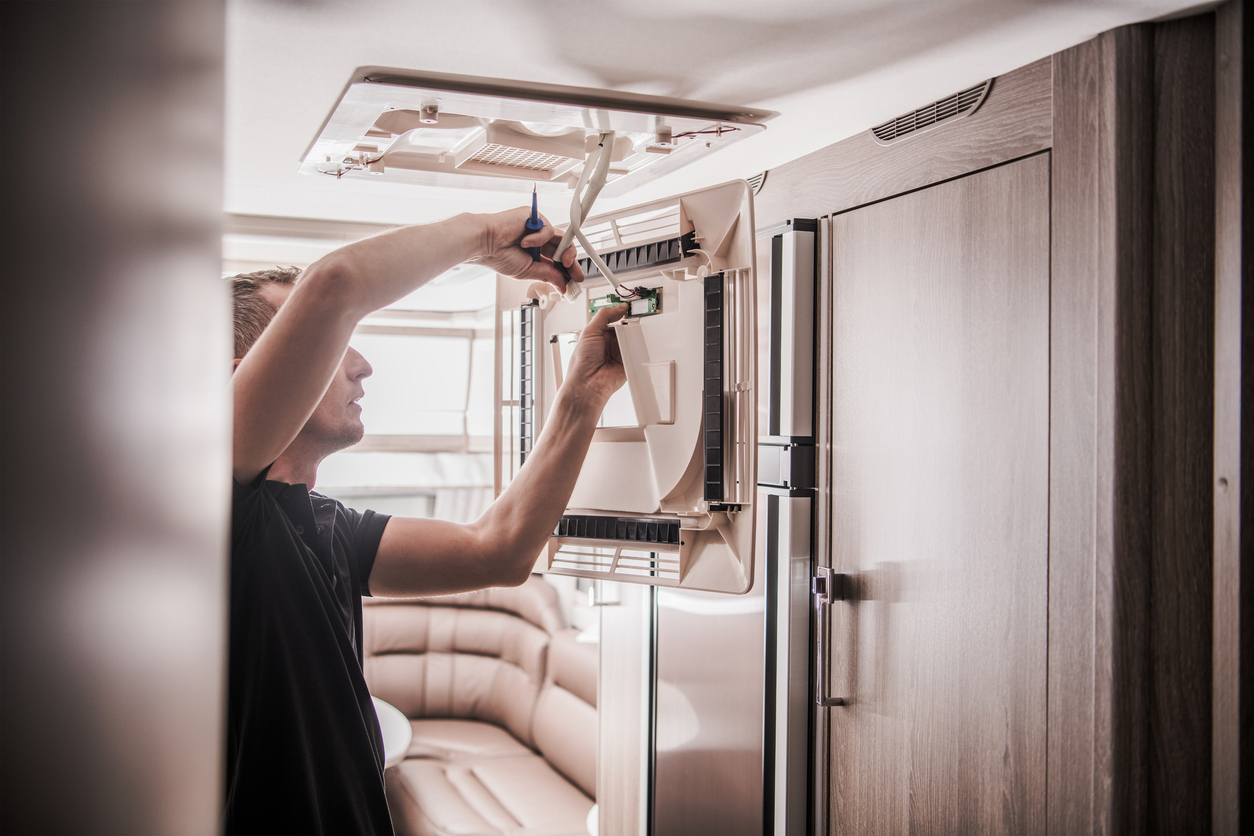
6. Monitor AC/Heating
The backbone of a quality RV road trip lies within a working HVAC system. This is why it’s vital to do maintenance on your AC and heating system at least once per trip. To do so, try running the systems at their lowest setting before hiking them up to their highest setting. Don’t hesitate to reach out to professional help if you experience any problems.
7. Check all Windows
To top off your RV’s exterior inspection, ensure all windows are intact. This includes both your windshields and your side and car door windows. Take immediate action if you see any gaps, openings, and cracks in your windows.
8. Run or Repair Appliances
With your exterior fully checked, it’s time to move into your RV’s interior for inspection. The first step is to ensure your appliances are all working properly. This includes your refrigerator, stove, and electricity. Running into any problems? Get any faulty or improper appliances working as soon as possible.
9. Clean Furniture
Another crucial part of knowing how to deep clean your RV’s interior is to thoroughly clean the furniture. Wipe down all furniture with appropriate cleaning products to best protect each item from any wear and tear. Don’t forget to check any slide-outs and ensure they work smoothly.
10. Drain and Clean Water Tanks
The next step is to clean all your RV’s water tanks. First, turn off all water systems and proceed to empty your black and grey water tanks. After that, check for any leaks. Once you have repaired any leaks or determined your water tanks don’t have leaks, sanitize all your water tanks.
11. Stock Emergency Supplies
Another item to consider on your RV maintenance checklist is to fully stock your vehicle with emergency supplies. These include but are not limited to the following:
- Fire extinguishers
- First-aid kits
- Flares
- Flashlights
- Batteries
- Blankets
- Additional snacks
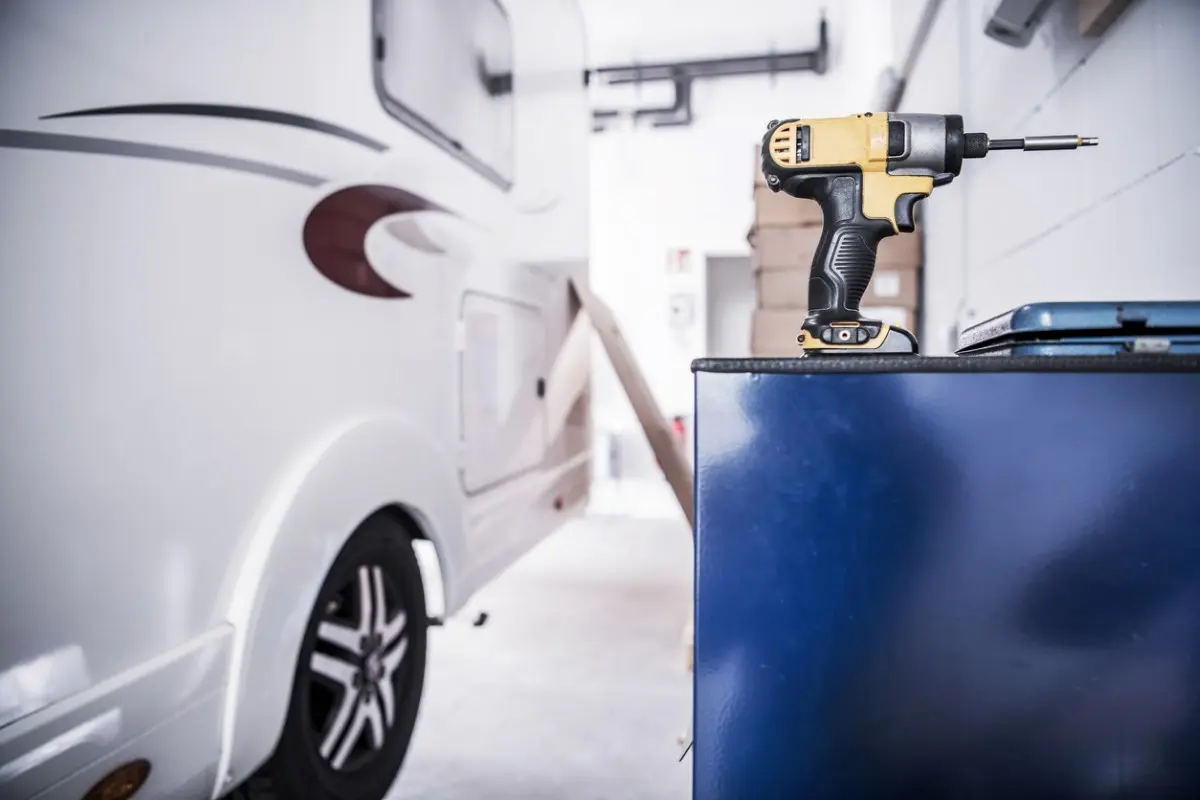
12. Tighten any Loose Nuts and Bolts
As a potential final step before you prepare for your road trip, tighten any loose nuts and bolts you find on your RV. A common area where loose nuts and bolts could be found is along the coupling of your trailer hitch.
How to Maintain an RV After Your Road Trip
Once you complete these steps and ensure your RV is in good condition, you’re set for your next road trip! Though proper RV maintenance does not end once you leave for your trip. There are various steps to take upon your return. Regardless if you’re merely taking a break for a few weeks or preparing your RV for the offseason, let us show you how to clean and maintain your RV after your road trip.
Clean RV Tanks
The first critical step in maintaining your vehicle post-vacation is to clean the water tanks. It’s best to dump out all your water tanks right before you leave your campsite. As you dump, empty the black tank first and then proceed to dump the grey tank and potable freshwater tank as well. Once empty, clean and sanitize your tanks thoroughly. Clean RV tanks will help keep your tank sensors working well and minimize odors.
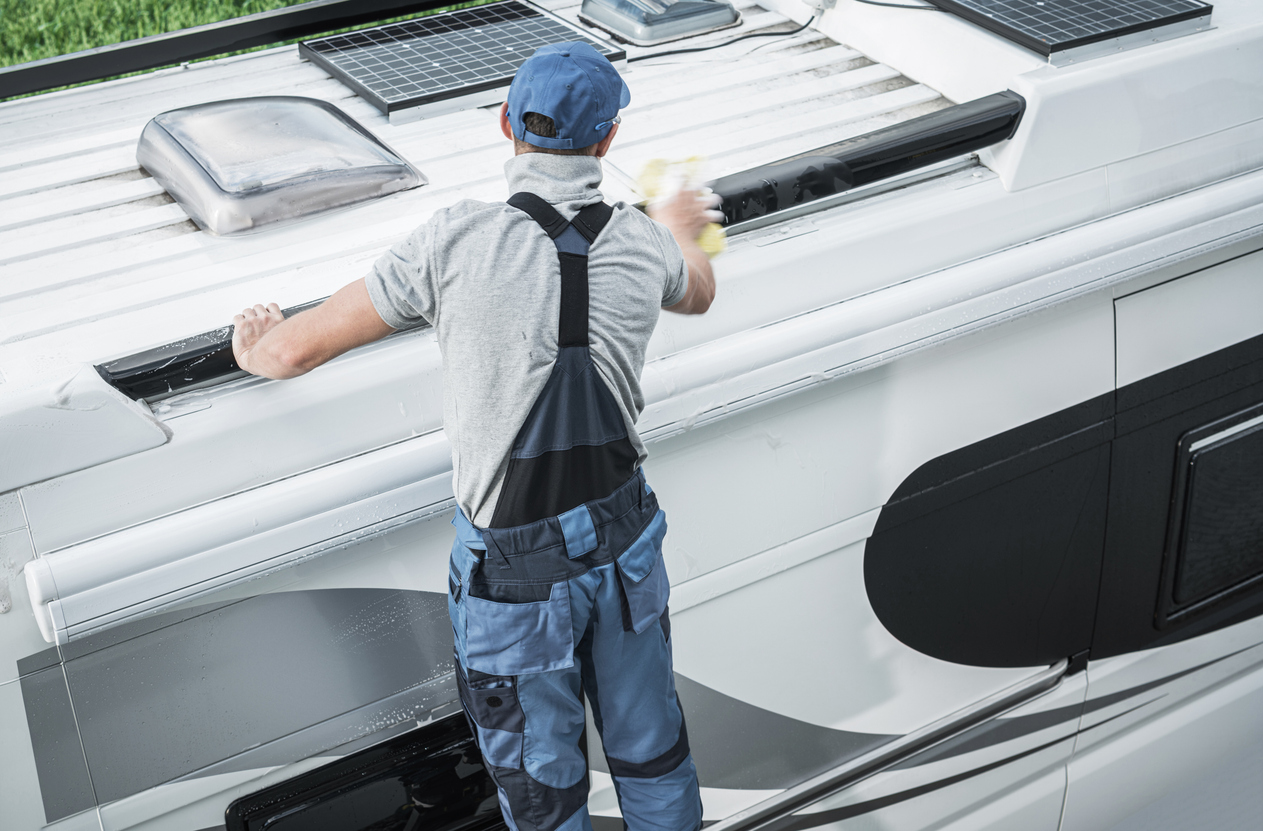
Wash Your RV’s Exterior
With a clean set of tanks, it’s time to do a deep washing of your RV’s exterior. To do so, you’ll need equipment such as microfiber towels, extending brush, and the right exterior cleaning products. Specific areas to focus on include the roof, windows, tires, rims, and sidewalls. If your RV has a propane tank and is not protected with a cover, wash the road grime off it.
Clean and Disinfect Your RV’s Interior and Appliances
After you clean the tanks and exterior, it’s time to make your RV’s interior sparkling clean and free from any leftover messes from the road trip. Here are some recommendations to effectively and efficiently clean and disinfect your RV’s interior and appliances:
- Save time by cleaning from top to bottom.
- Open up windows and vents to let fresh air in.
- Remove all food throughout your RV’s interior.
- Clean out the kitchen area by wiping down countertops, pantries, and tables.
- Clean inside and outside of the refrigerator, stove, oven, and microwave.
- Scrub bathtub, showers, toilets, and sinks, to remove any residue or grime.
- Sweep up any leftover crumbs or spills on the floor.
- Take out trash from trash cans and trash collection areas.
Do One Last Inspection
Before you consider the job done, do a final broad inspection to see if you catch any maintenance work not yet finished. Walk through your RV’s interior, including the driver’s seat, and remove any leftover trash or spills that have yet to be removed. As for the exterior, look out for any spots or areas that need additional attention.
Find Quality RV Storage
Got your RV fully prepared for the offseason? Then it’s time to find a good place to keep it secure. While your garage and driveway are convenient, they often lack the proper protection and space your vehicle needs. That’s where RV storage can help. With the right RV storage space, like the ones at Metro Self Storage, you can restore peace of mind knowing your RV is receiving the maximum amount of protection available.
Get the Best RV Storage at Metro Self Storage
For over 50 years, Metro Self Storage has been providing quality RV storage solutions to folks across the country. Coming in a variety of unit types and sizes all with a long line of amenities attached, our premier RV storage near shows you why we’ve been making room for you since 1973.
To get started, find your nearest Metro Storage location or contact our team online today!